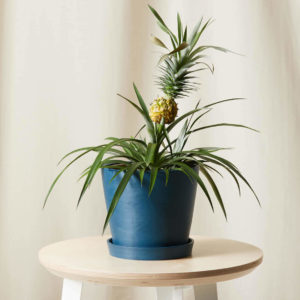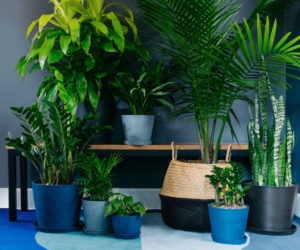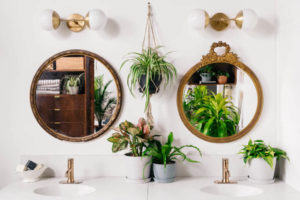
It is important to understand when and how to re-pot your houseplants to promote root health and growth. A healthy houseplant should be re-potted at the least once per year.
Repotting can be intimidating if you are new to the world of plant parenthood. Repotting doesn’t need to be complicated. We are here to help novice plant owners, they need to take care of their growing plants. Our guide to repotting houseplants includes information on when to repot, and a step by step tutorial on how to rehome your plants.
How can I tell if I should re-pot?
If roots are growing up from the soil or through drainage holes in the bottom of your pot, you will know that it is time to repot. This indicates that your plant needs more space.
Water rushing through the pot during waterings is another sign that it’s time for a re-pot. This indicates that the roots are taking up too many space in the pot and that there isn’t enough soil for them to root in their current planter.
After you have determined that your plant requires repotting, you can watch this video tutorial by @jungleinaroom on how to repot houseplants. If you need more tips, continue reading.
How to Repot Your Plants
Step 1
Choose a pot approximately 2 inches larger than your current pot. Make sure it has drainage holes and a saucer. Your new pot should not be larger than the original. This could cause root problems and make the soil too dry for the roots.
Step 2
The new pot should be filled one-third full of fresh potting soil.
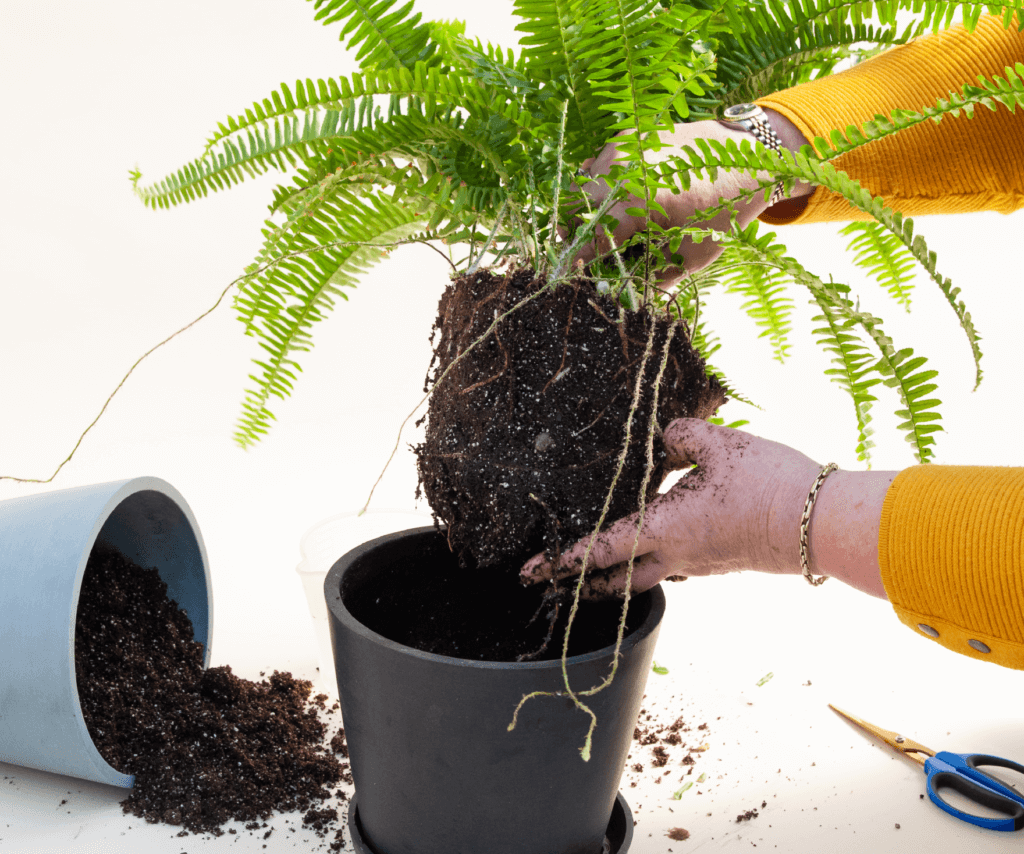
Step 3
Gently remove the plant from its pot. To encourage roots to grow, you may need to gently shake or use a soil knife. Use pruning shears or sharp scissors to remove any mushy or dead roots. Between each snip, wipe the blades with rubbing alcohol.
Step 4
Place the plant in the middle of the new pot and place the top of its rootball a few inches below it.
Step 5
Cover the root ball with soil and fill the pot. Gently compact the soil around the roots. This is where a soil scoop or hand trowel may be of assistance.
Step 6
Then water the plant well with a watering can, until water runs freely from the base.
Step 7
Let the plant rest for a while so that the water runs out of the pot. Place the plant on its new saucer.